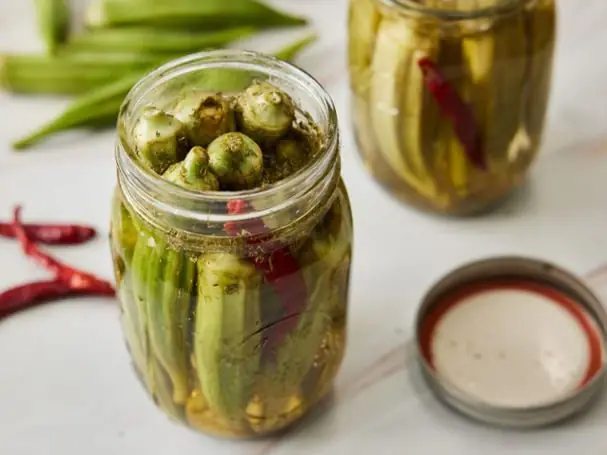
Have you ever wondered how to make pickled okra at home? Pickled okra is a crunchy, tangy treat that can elevate your meals and snacks. Well, it is surprisingly easy to make, and with just a few simple steps, you will have a jar of delicious pickled okra ready to enjoy.
Here is how you can do it:
Gather Your Ingredients For the Pickled Okra Recipe
The first step in making pickled okra is to gather all the necessary ingredients. You will need fresh okra, vinegar, water, salt, garlic, and spices such as dill seeds, mustard seeds, and peppercorns. Freshness is key. So, choose firm, bright green okra pods that are free from blemishes.

In addition to the basic ingredients, consider adding a bit of sugar for a touch of sweetness or some chili flakes if you like a bit of heat. Having all your ingredients measured and ready will make the process smoother and more enjoyable. Once you have everything you need, you are ready to move on to the next step.
Prepare the Okra
Before pickling, you need to prepare the okra. Start by washing the pods thoroughly under running water to remove any dirt. Trim the stems, being careful not to cut into the pod itself, which can lead to sliminess during pickling.

With the okra prepped, it is time to get the jars ready for packing.
Sterilize Your Jars
Sterilizing your jars is an important step to ensure your pickled okra stays fresh and safe to eat. Start by washing the jars and lids in hot, soapy water, then rinse them well. Place the jars in a large pot of water and bring it to a boil, letting them boil for about 10 minutes.
Once sterilized, use tongs to remove the jars from the boiling water and set them on a clean towel to dry. Keep the lids in the hot water until you are ready to use them. Proper sterilization prevents unwanted bacteria and keeps your pickled okra delicious for longer.
Make the Brine
The brine is what gives pickled okra its signature flavor. To make the brine, combine equal parts vinegar and water in a saucepan. For every cup of liquid, add a tablespoon of salt. Bring the mixture to a boil, stirring until the salt dissolves completely.

Once the brine is ready, carefully pour it over the okra in the jars, making sure the pods are fully submerged. Leave a bit of headspace at the top of each jar to allow for expansion during the pickling process.
Seal and Store
With the okra and brine in the jars, it is time to seal them. Place the lids on the jars and screw on the bands until they are fingertip-tight. If you want to ensure a longer shelf life, consider processing the jars in a boiling water bath for 10 minutes.
Once sealed, let the jars cool to room temperature before storing them in a cool, dark place. It is best to let the okra pickle last for at least a week to develop a full flavor. But if you can not wait, it can be enjoyed after a couple of days. The wait will be worth it when you taste the delicious, homemade pickled okra.